Stable Diffusion(AI 그림, Novel AI) 다운부터 실행까지

window 기준입니다.
단순히 이미지 생성만 하실 분은 2. WebUI로 실행 까지만 따라하셔도 충분합니다.
컴퓨터 학부 전공자분께서는 4. Anaconda Powershell Prompt으로 실행하기 까지 따라해 주시길 바랍니다.
논문의 이해를 원하시는 분은 https://wantchicken.tistory.com/147를 참고해 주시길 바랍니다
논문리뷰: Hierarchical Text-ConditionalImage Generation with CLIP Latents
Hierarchical text-conditional image generation with clip latents입니다. 최근 chatGPT로 또 세상을 놀라게 한 openAI에서 만든 dall-e 2에 대한 논문입니다. 본 논문에서는 이 모델을 unCLIP이라는 이름으로 지칭합니다.
wantchicken.tistory.com
1. 사이트 접속으로 실행
매우 간단한 방법입니다. 그렇지만 2. WebUI로 실행 까지 따라 오셔야 디테일한 이미지를 생성하실 수 있습니다. 본 챕터에서는 이미지 생성을 해 보았다는 것에 의의를 가지길 바랍니다.

https://huggingface.co/CompVis/stable-diffusion-v1-4
일반적인 stable diffusion
https://huggingface.co/stabilityai/stable-diffusion-2
업데이트 된 stable diffusion 2
위 사이트의 text-to-image 밑의 칸에 원하시는 그림의 텍스트를 써 주시길 바랍니다.

2. WebUI로 실행
일반적으로 이미지 생성을 할 때 쓰는 방법입니다. 따라 오시면 원하시는 스타일의 그림을 생성 할 수 있습니다.

반드시 Add Python 3.10 to PATH를 클릭해 줍니다.
2. git을 다운 받습니다.
https://git-scm.com/download/win
Git - Downloading Package
Download for Windows Click here to download the latest (2.39.1) 32-bit version of Git for Windows. This is the most recent maintained build. It was released 27 days ago, on 2023-01-17. Other Git for Windows downloads Standalone Installer 32-bit Git for Win
git-scm.com

빨간 박스 부분을 눌러 git을 다운 받습니다.
3. 명령 프롬프트에서 git clone https://github.com/AUTOMATIC1111/stable-diffusion-webui.git 을 입력합니다.

명령 프롬프트에 접속합니다.

다음과 같이 입력합니다.
git clone https://github.com/AUTOMATIC1111/stable-diffusion-webui.git
4. model.ckpt을 다운 후, stable diffusion파일의 model파일에 삽입해 줍니다.

로컬디스크 C의 사용자를 클릭합니다.
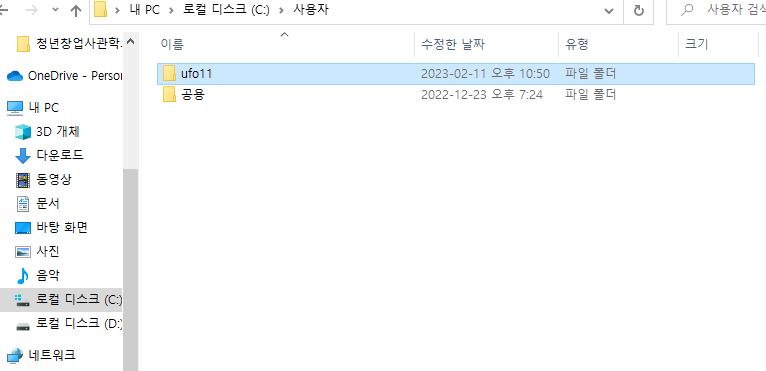
본인 계정의 파일에 접속합니다.

stable-diffusion-webui을 클릭합니다.

models를 클릭합니다.

Stable-diffusion을 클릭합니다.
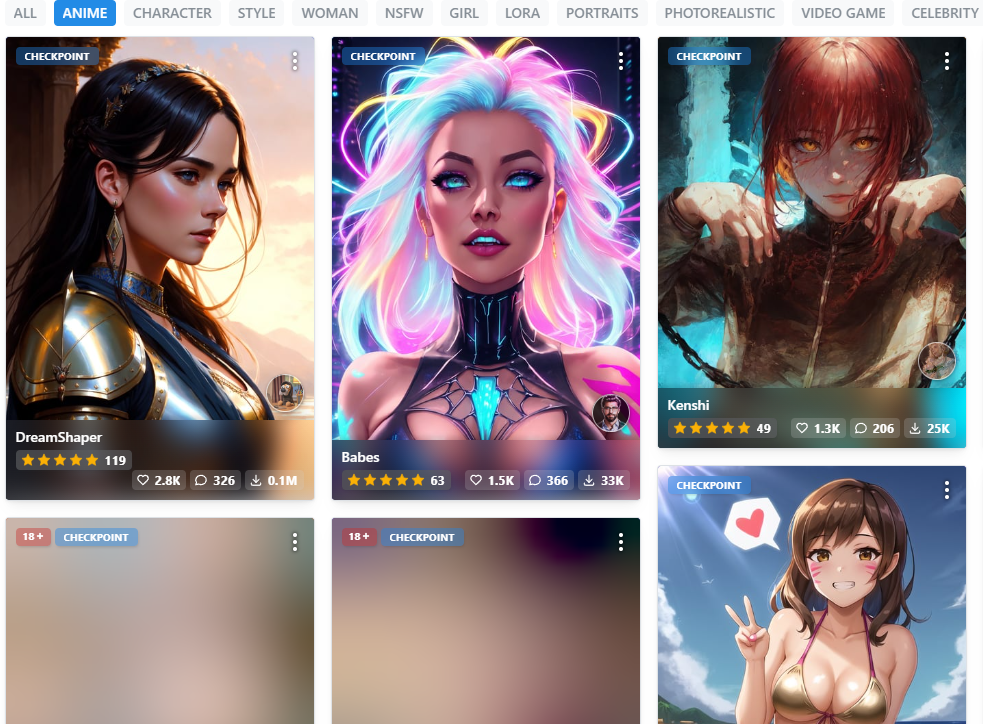
https://civitai.com/ 에서 원하는 모델을 다운 받습니다.
애니메이션 스타일의 그림을 그리고 싶으시면 상단의 anime를 클릭 하신 후 모델을 다운 받으시길 바랍니다.
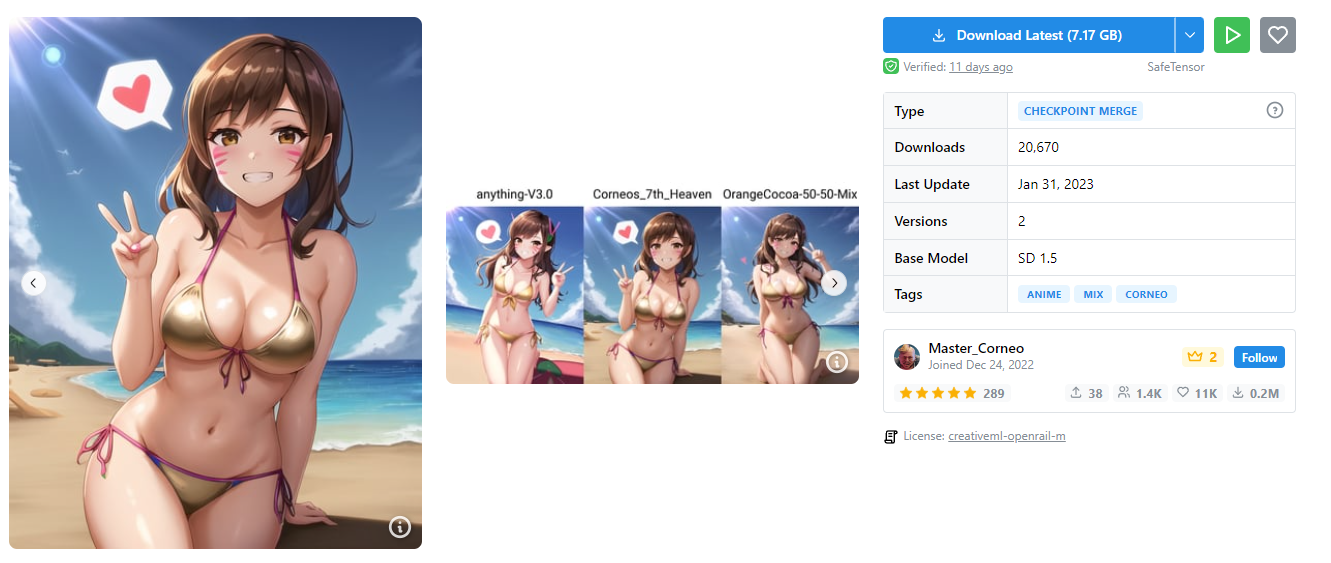
오른쪽 파란색 다운로드를 클릭하시길 바랍니다.
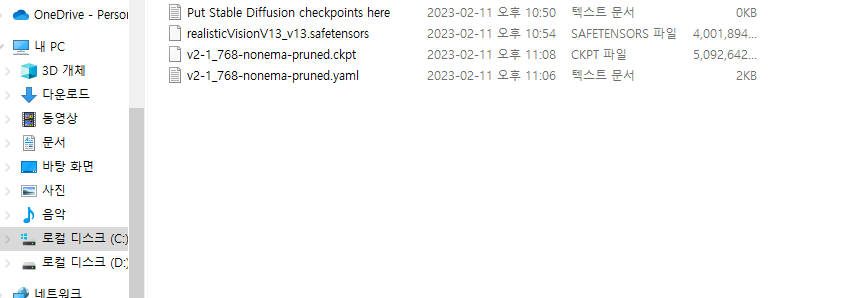
다운 받은 모델을 폴더에 넣어주시길 바랍니다.
5. webui-user을 실행합니다.
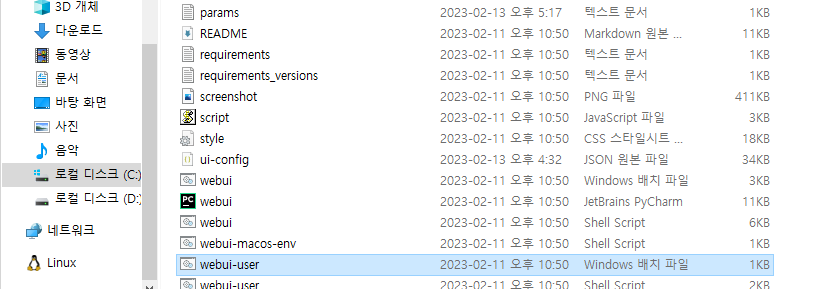
webui-user을 실행합니다.
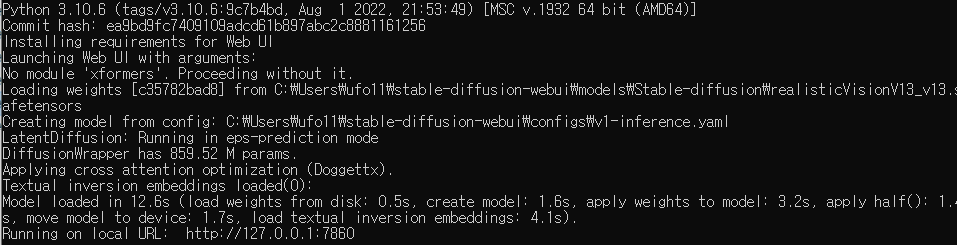
첫 실행은 오랜 시간이 걸릴 수 있으니 실행 후 기다려 주시길 바랍니다.
그리고 다음과 같은 코드가 나오면 http://127.0.0.1:7860/에 접속해 주시길 바랍니다.
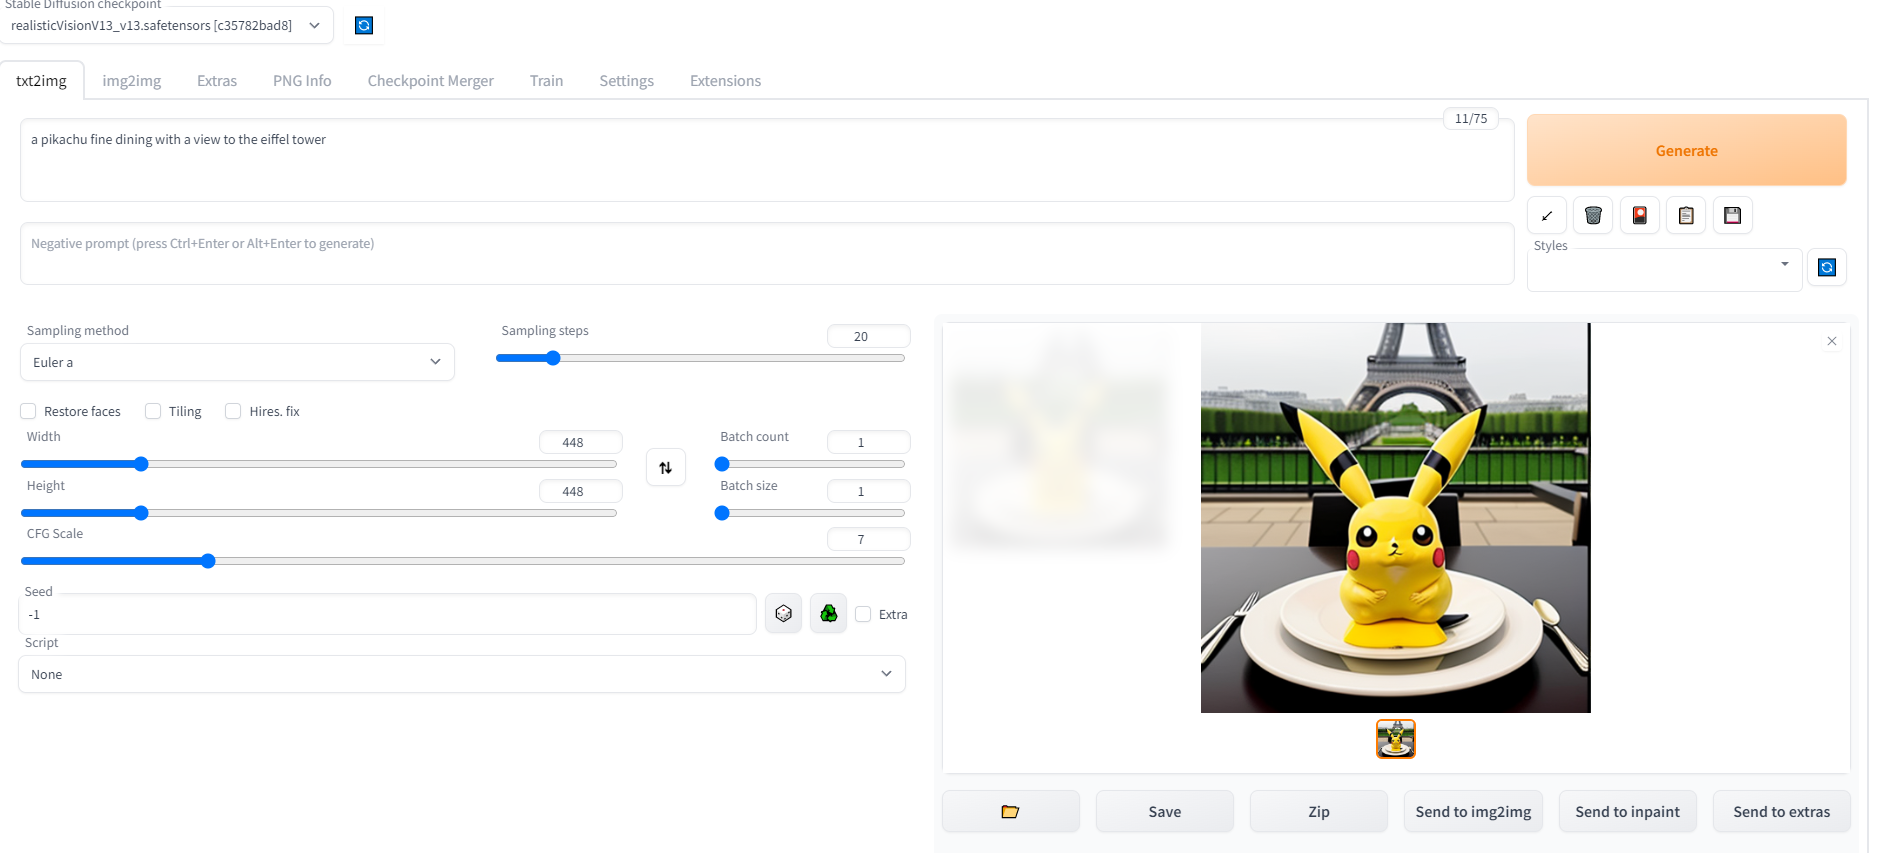
다음과 같은 페이지에 접속하시면 성공입니다.
Generate가 되지 않는다면 width와 height를 낮게 조정해 주시길 바랍니다.
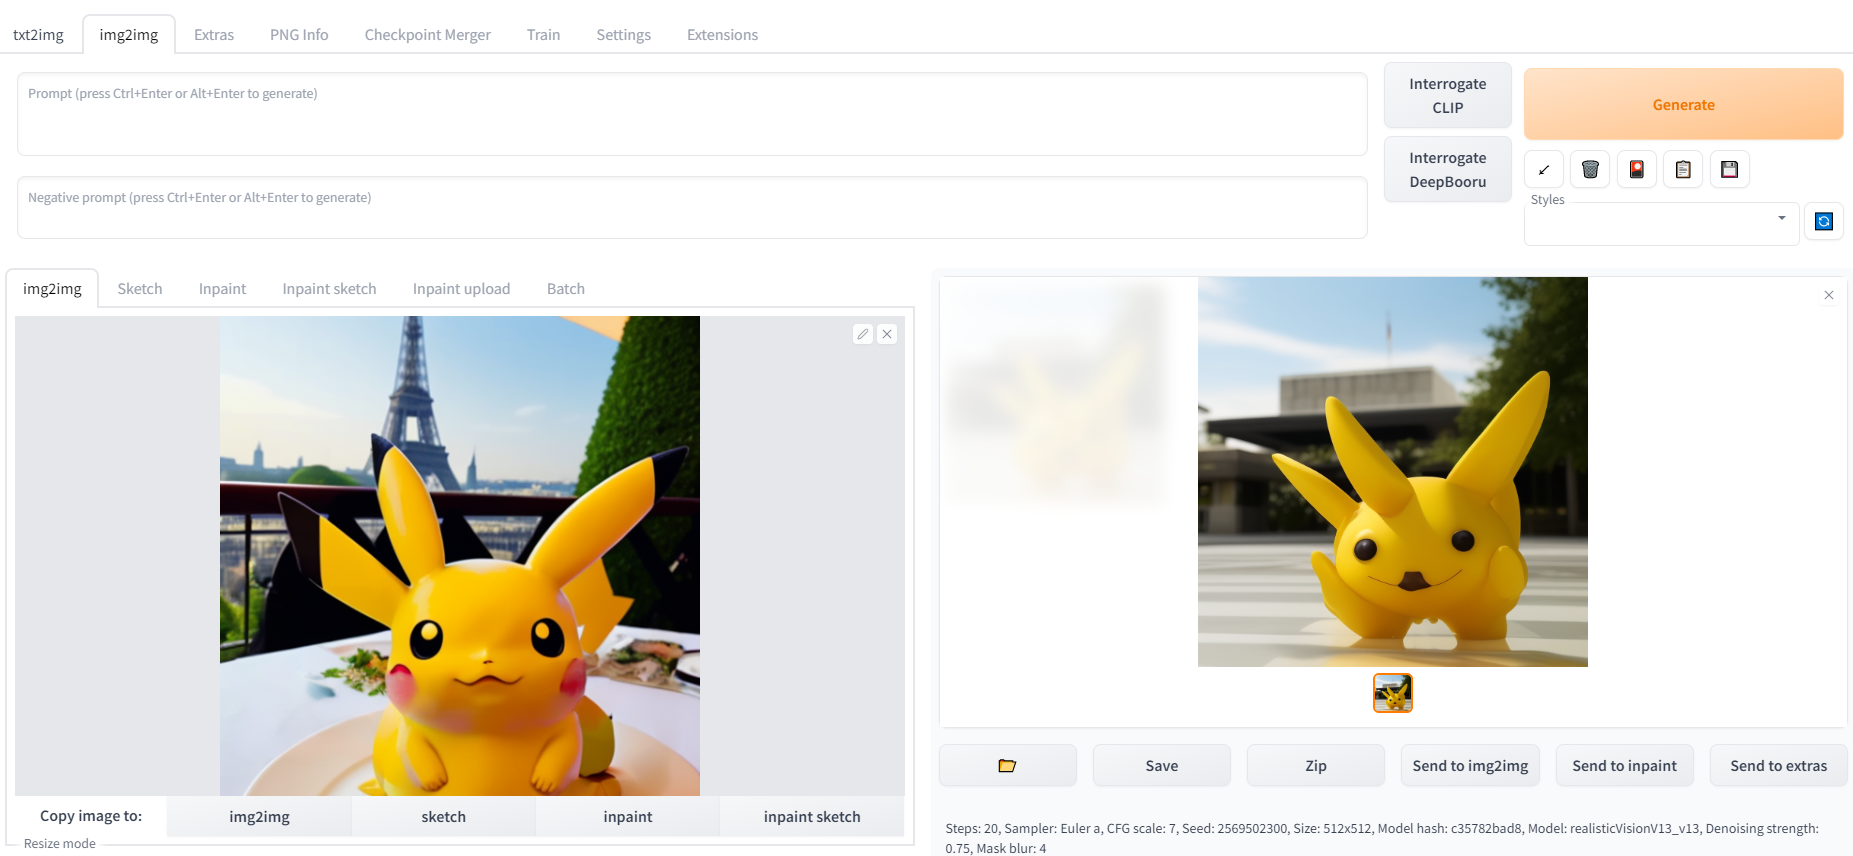
이미지로 이미지를 생성할 수도 있습니다.
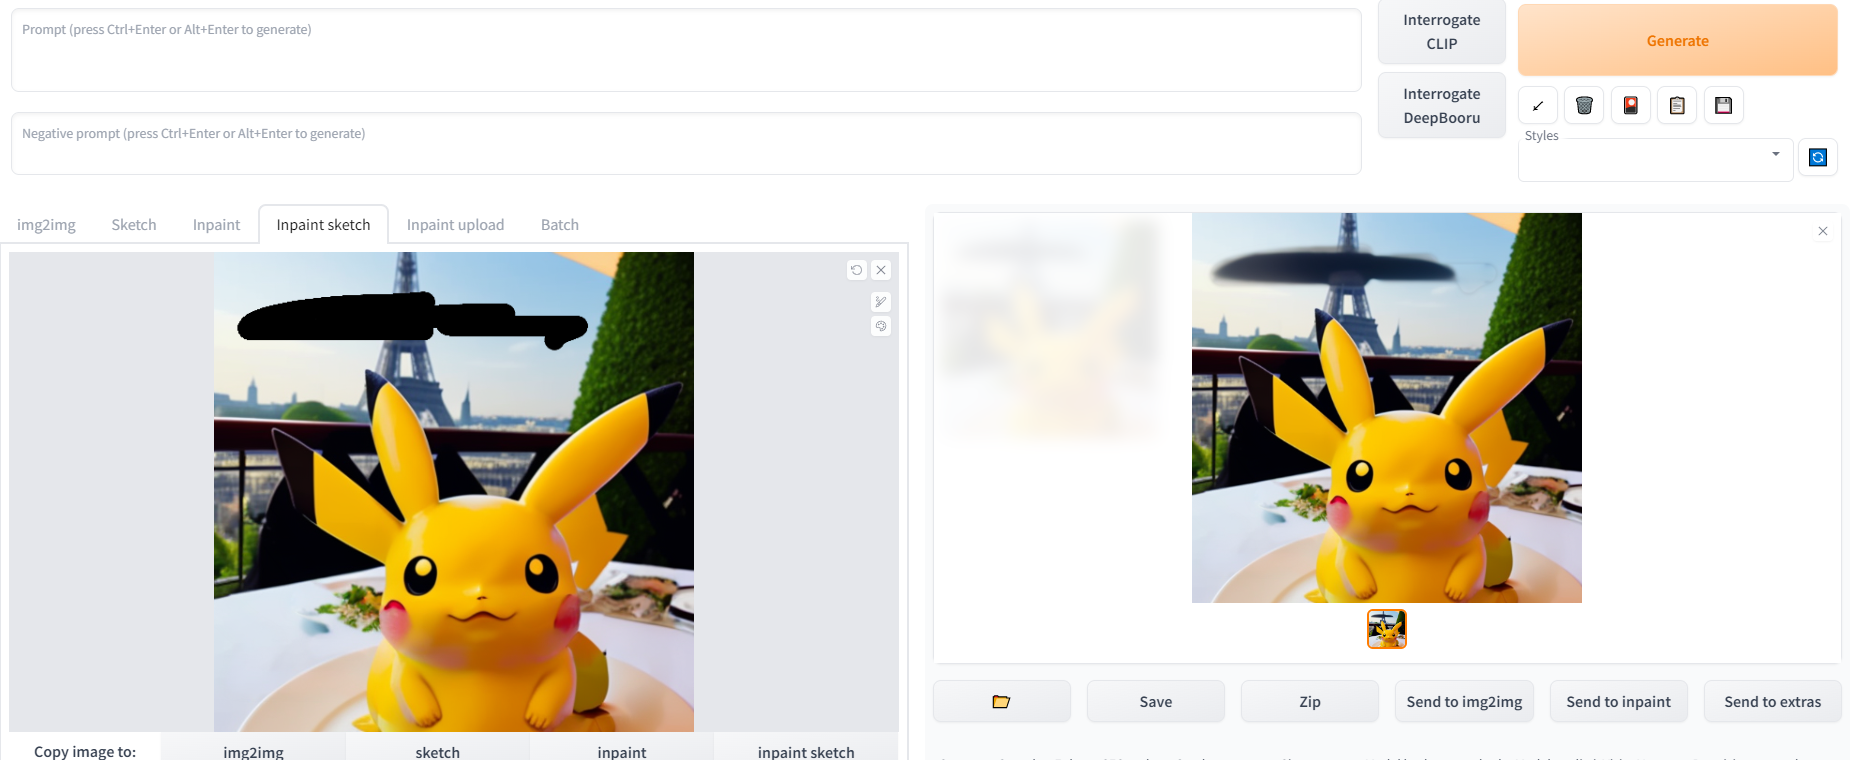
손상된 이미지도 복원할 수 있습니다.
만약 다음과 같은 에러(RuntimeError("Cannot add middleware after an application has started"))가 나왔다면 다음 글을 따라 주십시오

https://wantchicken.tistory.com/146
RuntimeError("Cannot add middleware after an application has started"), Stable Diffusion 및 Novel AI webui-user 에러 해결
webui-user 실행 시 다음과 같은 에러(RuntimeError("Cannot add middleware after an application has started"))가 나왔다면 이 글을 따라해 주세요. 1. C:\Users\??\stable-diffusion-webui\venv\Lib\site-packages로 이동해 주세요. ??는
wantchicken.tistory.com
3. Colab으로 실행
colab 계정이 필요합니다. 구글아이디가 있다면 https://colab.research.google.com/에서 쉽게 생성할 수 있습니다.
|
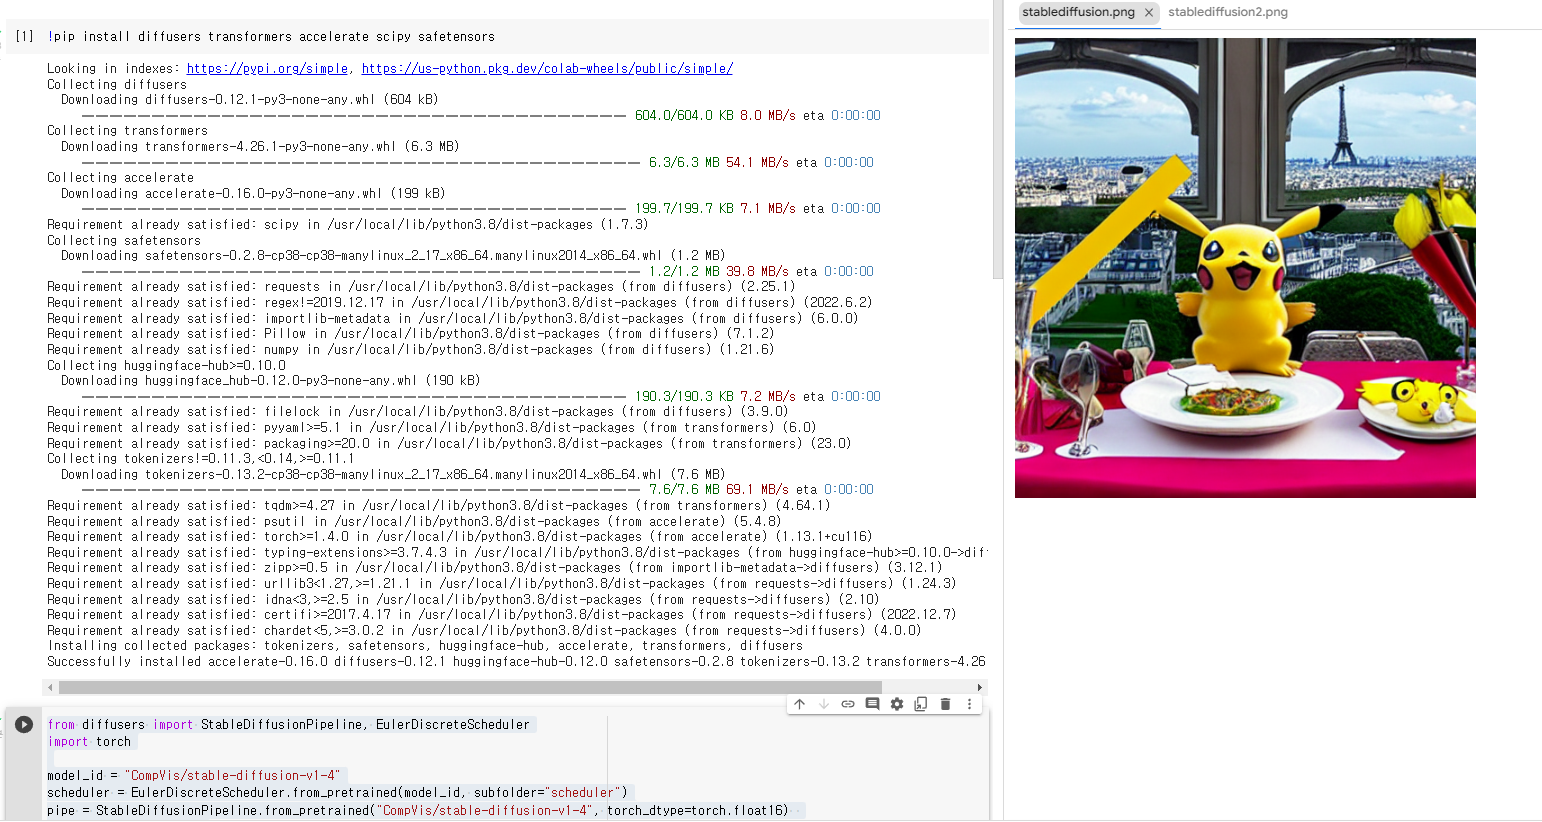
!pip install diffusers transformers accelerate scipy safetensors
from diffusers import StableDiffusionPipeline, EulerDiscreteScheduler
import torch
model_id = "CompVis/stable-diffusion-v1-4"
scheduler = EulerDiscreteScheduler.from_pretrained(model_id, subfolder="scheduler")
pipe = StableDiffusionPipeline.from_pretrained("CompVis/stable-diffusion-v1-4", torch_dtype=torch.float16)
pipe = pipe.to("cuda")
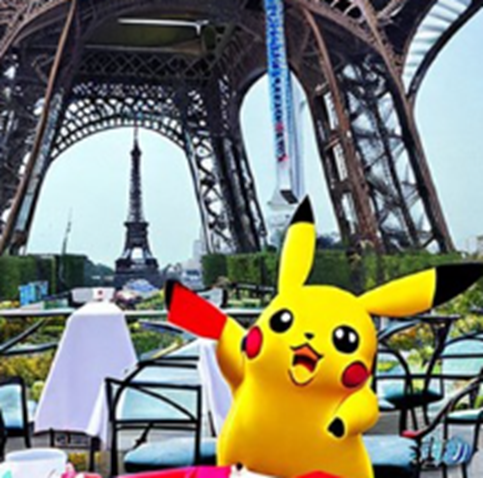
prompt = "A pikachu fine dining with a view to the Eiffel Tower"
image = pipe(prompt).images[0]
image.save("stablediffusion1.png")
model_id = "stabilityai/stable-diffusion-2"
# Use the Euler scheduler here instead
scheduler = EulerDiscreteScheduler.from_pretrained(model_id, subfolder="scheduler")
pipe = StableDiffusionPipeline.from_pretrained(model_id, scheduler=scheduler, torch_dtype=torch.float16)
pipe = pipe.to("cuda")
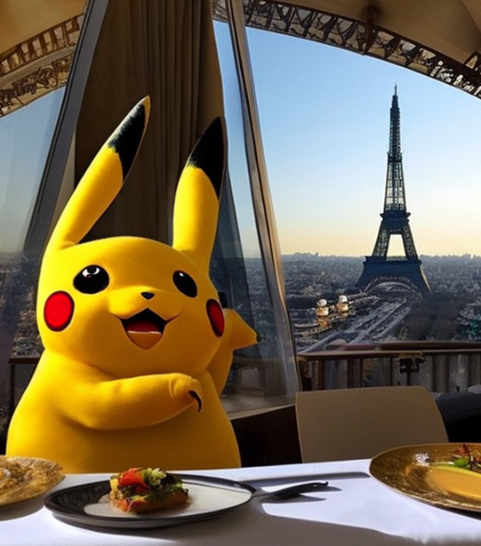
prompt = "A pikachu fine dining with a view to the Eiffel Tower"
image = pipe(prompt).images[0]
image.save("stablediffusion2.png")
|
cs |
위와 같은 코드를 입력해 주시길 바랍니다. 물론 파이참이나 다른 IDE에서도 실행가능합니다.
혹은 https://colab.research.google.com/drive/1jUwJ0owjigpG-9m6AI_wEStwimisUE17#scrollTo=Ucr5_i21xSjv에 접속해 주시길 바랍니다.
4. Anaconda Powershell Prompt으로 실행하기
최소한 VRAM 16GB이상에서만 사용할 수 있습니다. 본인의 컴퓨터 사양이 부족하다면 Anaconda Powershell Prompt로 실행할 수 없습니다.
다운방법
1. Anaconda 다운
https://www.anaconda.com/products/distribution
2. Git 다운
3. Anaconda Powershell Prompt에서
cd\
mkdir sd2
git clone https://github.com/Stability-AI/stablediffusion.git
cd .\stablediffusion\
conda env create –f .\environment.yaml –n sd2
conda activate sd2
pip install gradio
pip install timm
4. 모델들을 다운 후 C 드라이브에 model 폴더를 새로 만들고 모델들을 삽입
https://huggingface.co/stabilityai/stable-diffusion-2/blob/main/768-v-ema.ckpt
https://huggingface.co/stabilityai/stable-diffusion-2-base/blob/main/512-base-ema.ckpt
https://huggingface.co/stabilityai/stable-diffusion-2-depth/blob/main/512-depth-ema.ckpt
5. MiDaS모델 다운 후에, sd2 폴더에 midas_models 폴더를 새로 만들고 옮기기.
https://github.com/intel-isl/DPT/releases/download/1_0/dpt_hybrid-midas-501f0c75.pt
실행방법
1. Anaconda Powershell Prompt에서 다음과 같이 실행 시 output 폴더에 다음 이미지가 저장됨
python scripts/txt2img.py --prompt "A pikachu fine dining with a view to the Eiffel Tower" --ckpt c:/model/768-v-ema.ckpt --config configs/stable-diffusion/v2-inference-v.yaml --H 768 --W 768 --n_samples 1
2. Anaconda Powershell Prompt에서 다음과 같이 실행 시 output 폴더에 다음 이미지가 저장됨
python scripts/txt2img.py --prompt "A pikachu fine dining with a view to the Eiffel Tower“ --ckpt c:/model/512-base-ema.ckpt --config configs/stable-diffusion/v2-inference.yaml --H 512 --W 512
3. Anaconda Powershell Prompt에서
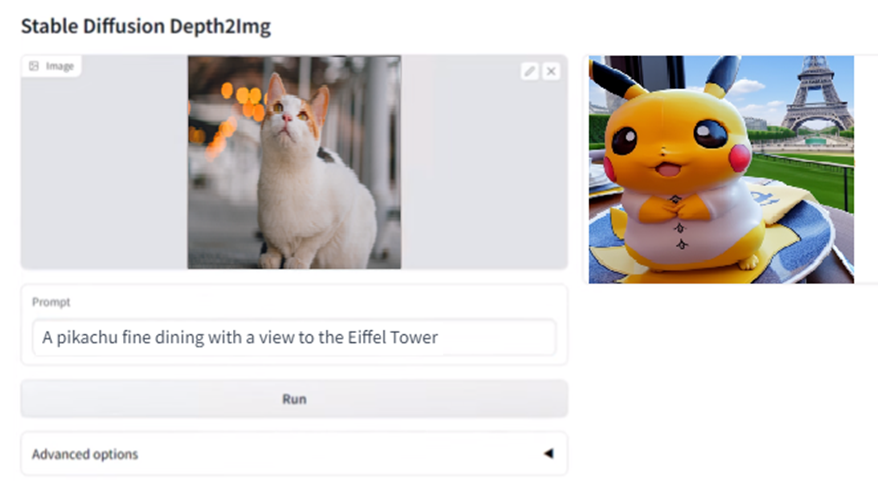
python scripts/gradio/depth2img.py configs/stable-diffusion/v2-midas-inference.yaml c:/model/512-depth-ema.ckpt
실행 후 127.0.0.1/7860에서 고양이 사진과 ‘A pikachu fine dining with a view to the Eiffel Tower’를 Prompt로 입력 했을 때